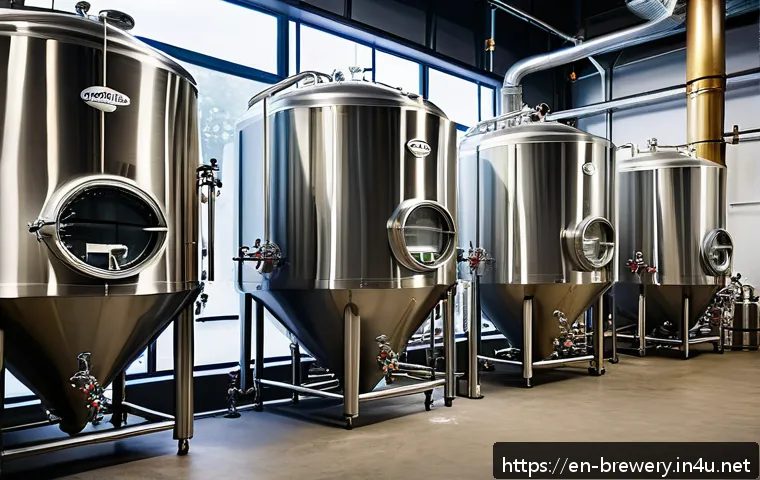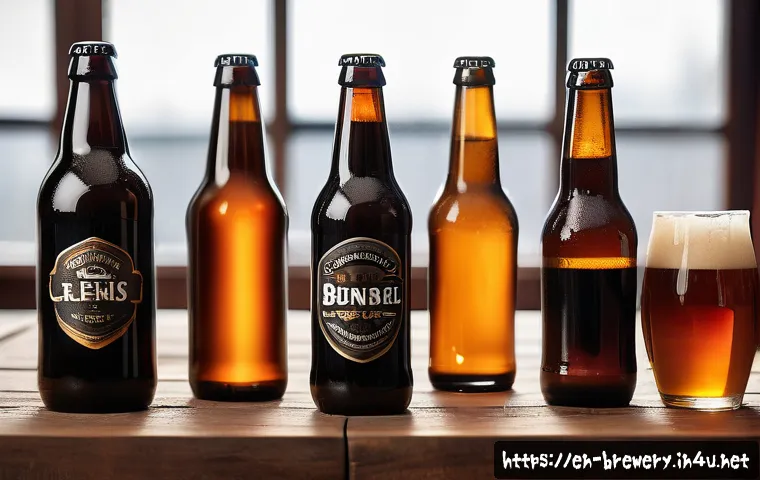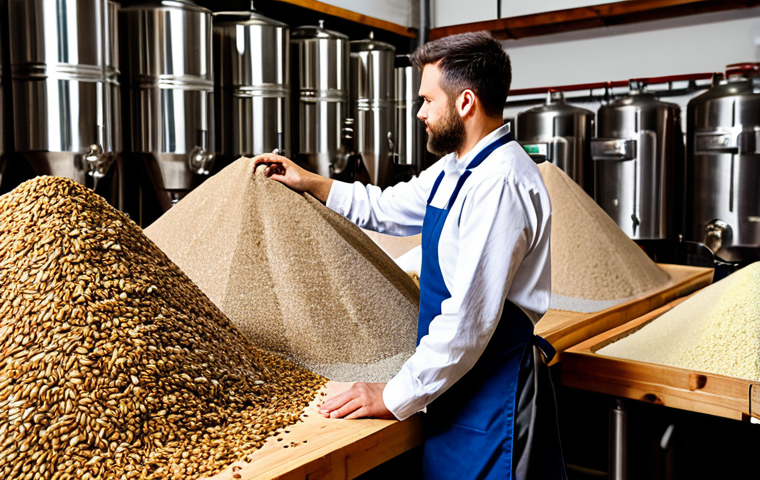
There’s nothing quite like the visceral joy of sipping a beer you crafted with your own hands, is there? That deeply rewarding experience, however, truly begins at the very source: the quality and character of your brewing ingredients.
Beyond the classic quartet of hops, malt, yeast, and water, the modern homebrewing landscape is exploding with fascinating innovations – think next-gen hop products like Incognito or Cryo Hops, and a dazzling array of novel yeast strains, from resilient Kveiks to genetically modified options for unique flavor profiles, pushing the boundaries of what’s possible right in your kitchen.
What I’ve personally discovered, through countless batches both glorious and, well, ‘learning experiences,’ is that understanding and intentionally selecting each component is absolutely paramount; it’s the bedrock upon which your masterpiece is built, and it directly influences everything from aroma to mouthfeel.
With an increasing focus on sustainable sourcing and personalized ingredient kits becoming a significant trend, navigating this evolving world can feel a bit overwhelming, but it’s incredibly rewarding.
Let’s explore this further below.
The Art of Grain Selection: Beyond the Basics
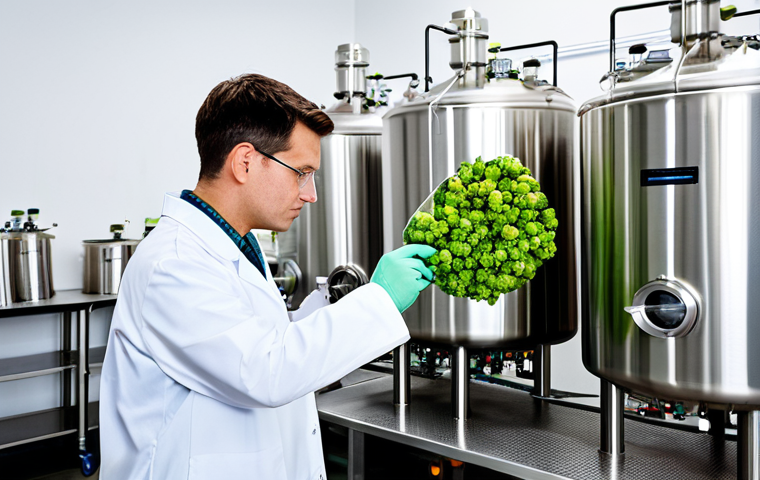
There’s a common misconception that brewing starts and ends with just “malt.” But as I’ve learned through trial and error, sometimes spectacularly, the grains you choose are the very heart of your beer’s soul.
They dictate not only the color and body but also contribute profoundly to the aroma and flavor, laying down the malty backbone against which all other ingredients play.
When I first started, I thought a pale ale needed “pale malt,” and that was it. Oh, how naive I was! The journey into the world of grains feels like stepping into an ancient library, each bag holding a unique story, a different historical and flavor profile waiting to be unleashed.
It’s not just about carbohydrates for fermentation; it’s about crafting a canvas, a foundation that can either elevate your hop character or stand alone in its complexity.
The subtle nuances between, say, a Maris Otter and a Golden Promise, are often imperceptible to the untrained palate but make all the difference in a truly exceptional brew.
It’s where the magic, and sometimes the frustration, of homebrewing truly begins for me.
1. Malt Varieties and Their Impact: Base, Specialty, and Roasted
Understanding the diverse world of malt is like learning a new language – overwhelming at first, but incredibly rewarding once you grasp its nuances. At its core, you have your base malts like 2-row, 6-row, Maris Otter, or Pilsner malt.
These are the workhorses, making up the vast majority of your grist, providing the fermentable sugars, and establishing the foundational flavor profile.
But oh, the joy of discovering specialty malts! Crystal (or Caramel) malts, for example, come in various color ratings (e.g., Crystal 20L, 60L, 120L) and impart sweetness, body, and a range of caramel or toffee notes.
I still remember the first time I added a substantial amount of Crystal 40L to an amber ale; the richness and depth it brought were a revelation, transforming a merely “good” beer into something truly memorable.
Then there are roasted malts like Chocolate Malt, Black Patent, or Roasted Barley. These are used in smaller quantities but pack a huge punch, delivering deep chocolate, coffee, or even smoky characteristics crucial for stouts, porters, and darker ales.
Using too much of these can create harsh, acrid flavors, which I unfortunately learned the hard way on a stout that ended up tasting more like burnt toast than a delightful dark beer.
It’s a delicate balance, a dance between flavor contribution and avoiding overwhelming the palate.
2. Understanding Malt Specifications: Lovibond and Diastatic Power
Beyond just the name of the malt, two crucial specifications tell you a lot about what a grain will contribute: Lovibond (or SRM for Standard Reference Method) and Diastatic Power (DP).
Lovibond is simply a measure of color, ranging from very pale (1-2L for Pilsner malt) to intensely dark (500L+ for roasted barley). This isn’t just about making your beer look appealing; color often correlates with flavor – darker malts usually mean richer, more roasted notes.
When I’m formulating a recipe, I always eye the Lovibond rating to predict the final hue and to ensure the right balance of roasted flavors. Diastatic Power, on the other hand, is a measure of the enzymes present in the malt that convert starches into fermentable sugars during mashing.
Base malts typically have high DP (100+ LDK), meaning they can convert their own starches and often those of other non-malted grains (like flaked oats or torrified wheat) that don’t have their own enzymes.
Specialty and roasted malts usually have very low or no DP. This is critical for recipe formulation; if your grist has too many non-diastatic grains, you might end up with a sticky, overly sweet wort because not enough starches were converted.
I once tried to make a super-dark porter with almost 50% roasted and crystal malts, completely forgetting about the DP implications. The result? A very thin, overly sweet beer that fermented poorly.
A painful, but invaluable, lesson in enzyme activity!
Harnessing the Power of Hops: Flavor, Aroma & Bitterness
Hops are, without a doubt, the rockstars of the brewing world. They provide that quintessential bitterness that balances malt sweetness, act as a natural preservative, and, most excitingly, burst forth with an incredible spectrum of aromas and flavors, from pungent pine and resin to bright citrus, tropical fruit, and delicate floral notes.
For me, the journey with hops has been a continuous exploration, a thrilling adventure where each new variety or hop product promises a fresh sensory experience.
I remember the absolute thrill of dry hopping my first IPA with absurd amounts of Citra; the smell alone when I opened the fermenter lid was intoxicating, a vibrant explosion of grapefruit and passionfruit that made me fall even deeper in love with brewing.
It’s not just about adding hops; it’s about understanding their potential, when to add them, and how different forms can unlock truly unique characteristics in your finished beer.
1. Navigating Hop Varieties: Aromatic vs. Bittering
Hops are broadly categorized into bittering hops and aroma hops, though many modern varieties are dual-purpose. Bittering hops, like Magnum or Columbus, are high in alpha acids, which isomerize during the boil to provide clean bitterness.
They’re typically added early in the boil. Aroma hops, on the other hand, are prized for their essential oils, which contribute vibrant aromas and flavors.
Think Cascade, Centennial, or Fuggle. These are added late in the boil, during the whirlpool, or as a dry hop to preserve their volatile compounds. What really fascinates me is the sheer diversity within each category.
For instance, in an American IPA, I might choose a big, resinous hop like Chinook for bittering, then layer in juicy aroma hops like Mosaic or Simcoe in the whirlpool and dry hop.
But if I’m brewing a British Bitter, I’d reach for earthy, floral Fuggles or East Kent Goldings. The choices are endless, and finding the perfect combination for a specific style, or even for an experimental brew, is one of the most creatively satisfying aspects of brewing.
2. Innovative Hop Products: Cryo, Incognito, and Lupulin Pellets
The world of hops isn’t static; it’s constantly evolving, and new products are revolutionizing how brewers extract flavor and aroma. Cryo Hops (or Lupulin Pellets) are a game-changer.
These are concentrated pellets made by separating the lupulin (the fragrant resin glands) from the leafy material of the hop cone. This means less vegetal matter in your fermenter, leading to less beer loss and a cleaner, more intense hop character.
I was skeptical at first, but after using Cryo Pop in a hazy IPA, I was blown away by the explosive tropical aroma and how much less “hop sludge” I had to deal with.
Then there’s Incognito, a liquid hop product designed for hot-side additions (whirlpool). It delivers massive hop aroma and flavor without adding significant bitterness or increasing wort volume, perfect for modern hazy IPAs where you want a huge hop punch but minimal vegetal matter.
These innovations are exciting because they allow us to push the boundaries of hop expression, creating beers with unparalleled aroma intensity and clarity that were much harder to achieve just a few years ago.
3. Hop Additions: Timing and Technique
The timing of your hop additions is as crucial as the variety itself. Early boil additions (60+ minutes) are primarily for bitterness, as the alpha acids need time to isomerize.
Mid-boil additions (15-30 minutes) contribute a blend of bitterness, flavor, and aroma. Late boil additions (5-10 minutes), whirlpool additions (after the boil, while the wort is still hot), and dry hopping (adding hops to the fermenter after fermentation has started or completed) are all about maximizing aroma and flavor.
For me, dry hopping is where the magic truly happens for aromatic beers. I’ve experimented with single dry hops, double dry hops, even “biotransformation” dry hops (adding hops during active fermentation), and each technique yields different results.
What I’ve learned is that there’s no single “right” way; it all depends on the hop variety, the beer style, and the specific aroma profile you’re aiming for.
It’s an art form, really, a delicate balance of timing and quantity that separates a good hop-forward beer from a truly exceptional one.
| Hop Variety | Primary Use | Key Flavor/Aroma Notes | Common Beer Styles |
|---|---|---|---|
| Cascade | Aroma/Bittering | Floral, Citrus (Grapefruit), Pine | American Pale Ale, IPA, Amber Ale |
| Citra | Aroma | Tropical Fruit (Lychee, Passionfruit), Citrus | Hazy IPA, Pale Ale, Session IPA |
| Mosaic | Aroma | Berry, Tropical Fruit, Earthy, Pine | Hazy IPA, Pale Ale, Sour Ale |
| Saaz | Aroma | Spicy, Herbal, Floral | Pilsner, Lager, Belgian Ale |
| Magnum | Bittering | Clean, Neutral Bitterness | All styles needing clean bitterness |
| Chinook | Bittering/Aroma | Pine, Grapefruit, Spicy | IPA, American Barleywine, Stout |
Yeast: The Unsung Hero of Fermentation
If grains are the body and hops are the soul, then yeast is undeniably the beating heart of your beer. Without these microscopic powerhouses, you’d just have sweet, unfermented wort.
It’s truly amazing to consider that these tiny, single-celled organisms transform sugary liquid into complex, delicious beer, producing alcohol, carbonation, and a vast array of esters and phenols that contribute immensely to the final flavor profile.
For me, discovering the profound impact of different yeast strains was a pivotal moment in my brewing journey. I vividly remember my first Belgian witbier, fermented with a specific Belgian wit yeast; the subtle spice and fruit notes were so distinct and integral to the style that it made me realize just how much control yeast gives you over the final product.
It’s not just about fermentation; it’s about flavor development, and understanding yeast is critical to achieving specific stylistic goals and avoiding off-flavors.
1. Yeast Strains and Their Flavor Profiles: Ale, Lager, Kveik, and Wild
The world of yeast is incredibly diverse, offering a staggering array of options each with its own unique character. Ale yeasts (Saccharomyces cerevisiae) ferment at warmer temperatures (60-70°F / 15-21°C) and typically produce a wider range of esters (fruity notes like apple, pear, banana) and phenols (spicy notes like clove or pepper), which are characteristic of many craft beers.
Think of the fruity esters from a British ale yeast or the peppery phenols from a Belgian saison strain. Lager yeasts (Saccharomyces pastorianus) prefer cooler temperatures (45-55°F / 7-13°C) and produce a much cleaner, crisper flavor profile with fewer fermentation byproducts, leading to the smooth, refreshing character of lagers.
Then there are the fascinating Kveik yeasts, a family of traditional Norwegian farmhouse yeasts that can ferment incredibly fast and clean at surprisingly high temperatures (up to 95°F / 35°C) without producing off-flavors, opening up new possibilities for faster turnaround times without sacrificing quality.
And for the adventurous, wild yeasts and bacteria like Brettanomyces or Lactobacillus offer incredibly complex, often sour or funky profiles, though they come with a higher risk of unpredictable results and cross-contamination.
Each strain is a tool, and knowing which one to pick is key to shaping your beer.
2. Yeast Health and Propagation: Starters and Re-pitching
A healthy fermentation starts with healthy yeast. Pitching an adequate amount of viable and vital yeast is perhaps the single most important factor for a successful brew.
For higher gravity beers or when using liquid yeast (which often has lower cell counts than dry yeast), making a yeast starter is crucial. This involves culturing a small amount of yeast in a low-gravity wort prior to pitching, allowing the yeast population to grow and become more robust before being introduced to your main batch.
I’ve personally seen the difference a proper starter makes – faster fermentation, cleaner flavors, and fewer off-notes. Re-pitching yeast from a previous healthy fermentation is another fantastic technique for both saving money and building a bank of proven yeast.
After a successful fermentation, you can harvest the yeast from the bottom of your fermenter and use it for your next batch. I’ve re-pitched yeast for several generations, and it’s incredibly satisfying to see your yeast colony thrive, though it does require careful sanitation and storage to prevent contamination.
Water: The Foundation of Flavor
Water, often overlooked, is far more than just a solvent in brewing; it’s a critical ingredient that profoundly impacts every aspect of your beer, from mash efficiency to hop bitterness perception and the final mouthfeel.
I vividly remember brewing a classic West Coast IPA recipe several times, and while it was good, it never quite hit that crisp, bright bitterness and dry finish I craved.
It wasn’t until I started delving into water chemistry that I realized my local tap water, while potable, simply wasn’t suited for that style. Adjusting my water profile was like unlocking a secret cheat code; the same recipe suddenly sang with a clarity and punch that had been missing.
It truly opened my eyes to the fundamental role water plays, shaping the very character of your brew.
1. Understanding Water Chemistry: Minerals and pH
Water contains various minerals that significantly influence your beer. Key ions include Calcium (Ca²⁺), Magnesium (Mg²⁺), Sodium (Na⁺), Sulfate (SO₄²⁻), and Chloride (Cl⁻).
Each plays a role: Calcium helps with mash pH, enzyme activity, and yeast flocculation. Magnesium is an enzyme cofactor and yeast nutrient. Sodium can enhance mouthfeel and sweetness but can become salty at high levels.
Sulfate accentuates hop bitterness and dryness, making it crucial for IPAs. Chloride enhances malt sweetness and body, making it ideal for stouts or hazy IPAs.
Beyond minerals, pH is absolutely vital. The mash pH (typically 5.2-5.6) affects enzyme activity and sugar conversion, impacting fermentability and flavor.
Your sparge water pH also matters, as a high pH can extract tannins and contribute astringency. Monitoring and adjusting pH isn’t just for advanced brewers; it’s a foundational step to consistency and quality.
2. Adjusting Your Water Profile: Salts and Acids
Once you understand your source water’s mineral profile (either through a water report or a basic test kit), you can adjust it to suit your desired beer style using brewing salts and food-grade acids. For instance, if I want to brew a big, bitter IPA, I might add Gypsum (Calcium Sulfate) to increase sulfate and calcium, enhancing the hop character and dropping mash pH. For a rich, malty stout, I’d lean towards Calcium Chloride to boost chloride and calcium, promoting a fuller, sweeter mouthfeel. Lactic acid or phosphoric acid can be used to lower mash or sparge water pH if your water is too alkaline. It’s a precise science, but there are excellent online calculators that make it much easier. My personal “Aha!” moment came when I started using lactic acid to hit my target mash pH; the consistency of my beers dramatically improved, and I experienced fewer “stuck” mashes. It’s a small change with a huge impact.
Beyond the Core Four: Adjuncts and Specialty Ingredients
While malt, hops, yeast, and water form the bedrock of brewing, the modern homebrewer has an almost boundless pantry of “other” ingredients – adjuncts and specialty items – that can push the boundaries of flavor, aroma, and mouthfeel. This is where brewing becomes truly experimental and exhilarating. I remember my first foray into adding fruit to a sour beer; the vibrant burst of raspberry flavor wasn’t just a novelty, it completely transformed the beer into something unexpected and utterly delicious. It’s about thinking outside the traditional box and finding ways to layer in complexity, boost specific characteristics, or even create entirely new flavor experiences that challenge conventional definitions of beer.
1. Flavor Enhancers: Fruits, Spices, and Coffees
The possibilities are endless when it comes to infusing additional flavors into your brew. Fruits, whether fresh, frozen, puréed, or concentrated, can add incredible complexity, from the tartness of cherries in a stout to the tropical sweetness of mango in a hazy IPA. Spices, like cinnamon, coriander, or star anise, can evoke specific cultural or seasonal themes, but must be used judiciously, as a little goes a long way. I once made a holiday ale with a touch too much cinnamon and clove; it tasted less like a festive drink and more like potpourri! Coffee is another fantastic addition, particularly in stouts and porters, offering roasty, bitter, or fruity notes depending on the bean and roast level. I love cold-brewing coffee and adding it to the fermenter post-fermentation for a clean, vibrant coffee character. It’s about understanding how these ingredients interact with the beer’s base, and often, less is truly more.
2. Sugars and Syrups: Boosting ABV and Character
Adding various forms of sugar or syrup is a common practice, particularly in Belgian ales, high-gravity beers, or even some dry stouts. Unlike malt, which contributes body and residual sweetness, simple sugars ferment out almost completely, leading to a drier finish and a higher alcohol content without making the beer overly thick or cloying. Belgian candi sugars, for instance, come in different colors and flavors, adding subtle caramel, toffee, or even raisin notes alongside fermentable sugars. Dextrose (corn sugar) is a clean-fermenting option often used for priming or simply boosting ABV. Maple syrup, honey, or even molasses can contribute unique fermentable sugars and distinct flavor profiles. I once brewed a Belgian Dark Strong Ale with dark candi syrup, and the rich, complex dark fruit notes it contributed were absolutely beautiful, elevating the beer beyond what malt alone could achieve.
Troubleshooting Ingredient Pitfalls: Learning from My Mistakes
Let’s be honest: not every batch is a masterpiece. In fact, some of my most profound brewing lessons have come from batches that went sideways, often due to ingredient mishaps. It’s disheartening when you spend hours brewing, only for the final product to have an off-flavor or simply not taste right. But these failures are invaluable teachers. I’ve poured more than a few batches down the drain, each time with a mental note about what went wrong. Embracing these learning opportunities, rather than getting discouraged, is what truly builds expertise and resilience as a brewer.
1. Off-Flavors from Ingredient Missteps: Oxidation and Infection
Some of the most common and frustrating off-flavors can often be traced back to ingredients or how they’re handled. Oxidation, for example, gives beer a stale, papery, or even sherry-like flavor. While sometimes caused by post-fermentation handling, it can also stem from old, oxidized malt or hops. I once used a bag of old, partially open specialty malt and ended up with a beer that tasted tired and cardboard-y right from the start. Lesson learned: always store grains in airtight containers and use them fresh. Infection, another dreaded issue, can introduce sour, vinegary, or even band-aid-like flavors. While primarily a sanitation issue, using old, unsterile yeast or contaminated adjuncts can also be culprits. I had a batch of saison go horribly wrong once; it tasted intensely sour and phenolic, and I traced it back to a batch of fruit that hadn’t been properly sanitized. It’s a stark reminder that every single ingredient needs to be handled with care and respect.
2. When a Batch Goes Wrong: Salvage or Dump?
This is the agonizing question every homebrewer faces from time to time. When you discover an off-flavor, your first instinct might be despair. But sometimes, a problematic batch can be salvaged. For instance, a beer that’s too sweet might benefit from re-pitching a very attenuative yeast strain or blending it with a drier batch. A slightly oxidized beer might be transformed into a stout by adding coffee or chocolate. However, some problems are just too severe. An aggressively infected beer, one with strong diacetyl (buttery) or DMS (cooked corn) issues that won’t clear, or something truly undrinkable often needs to be dumped. It’s a tough call, and I’ve wrestled with it many times. But pouring out a bad batch is a sign of respect for your craft and your palate; you wouldn’t serve something you wouldn’t drink yourself. It also frees up your fermenter for a new, hopefully much better, brew!
Wrapping Up
Brewing, at its heart, is an endless journey of discovery, and the true mastery lies not just in following recipes, but in truly understanding the raw ingredients that shape your liquid art. From the nuanced sweetness of malts to the vibrant punch of hops, the transformative power of yeast, and the often-underestimated foundation of water, each component plays a starring role. My own path has been filled with countless experiments, some glorious successes, and a few memorable “drain pours,” but every single one has deepened my appreciation for this incredible craft. It’s a process of continuous learning, tweaking, and tasting, and that’s precisely what makes it so rewarding.
Useful Tips to Remember
1. Source Your Ingredients Wisely: Always prioritize fresh, high-quality ingredients from reputable suppliers. Stale malt or old hops can quickly degrade your beer’s quality, as I’ve unfortunately experienced.
2. Sanitation is Non-Negotiable: No matter how perfect your recipe, a single slip in sanitation can ruin an entire batch. Clean, sanitize, and then sanitize again – it’s truly the golden rule of brewing.
3. Keep Detailed Brew Logs: Document everything – ingredient weights, mash temperatures, hop additions, fermentation temps, and tasting notes. This is invaluable for replicating great beers and diagnosing issues with less successful ones.
4. Don’t Fear Experimentation: While understanding core styles is important, don’t be afraid to try new hop combinations, different yeast strains, or unique adjuncts. Some of my favorite beers have come from unexpected twists.
5. Join a Local Homebrew Club: The wealth of knowledge, shared experiences, and camaraderie you’ll find in a local club is immense. It’s a fantastic way to learn, get feedback, and make brewing friends.
Key Takeaways
The essence of exceptional beer lies in a deep understanding and careful selection of its core ingredients: grains, hops, yeast, and water. Each element profoundly influences the final product’s flavor, aroma, and mouthfeel. Continuous learning, meticulous attention to detail, especially regarding water chemistry and yeast health, and embracing troubleshooting as a learning opportunity are crucial for consistent quality. Experimentation with adjuncts can push creative boundaries, while remembering that patience and careful sanitation are always paramount to a successful brew.
Frequently Asked Questions (FAQ) 📖
Q: The text mentions “next-gen hop products like Incognito or Cryo Hops, and a dazzling array of novel yeast strains.” For someone just getting into this, or even a seasoned brewer looking to expand, what are some of these innovative ingredients, and how do they genuinely change what we can create in a home kitchen?
A: Oh, where do I even begin with the game-changers? When I first started, it felt like the world was just Cascade and US-05, you know? But then you dip your toes into the deep end, and suddenly you’re seeing things like Cryo Hops.
I remember the first time I used them in an IPA—it was like someone turned the volume up on the aroma without adding any grassy bitterness. It’s a concentrated lupulin powder, basically, giving you all the good stuff (the oils and resins) without the vegetative matter.
Less trub, more punch! Then there’s Incognito, which is a liquid hop product, similar idea but even easier to use in the whirlpool, just dissolving beautifully.
It’s brilliant for those hazy IPAs where you want maximum hop presence. And the yeasts? Kveik strains are just phenomenal.
I tried a Voss Kveik in a pale ale once, brewing it at like 90°F (32°C) because my fermentation fridge was tied up, and it blew my mind how clean and fruity it came out!
They ferment super fast, super hot, and don’t throw off nasty off-flavors. It truly feels like brewers are mad scientists now, and these ingredients are our new lab tools, allowing us to push flavors and processes in ways that were pure fantasy a decade ago.
It’s not just about making a good beer anymore; it’s about crafting a unique one.
Q: You emphasize that “understanding and intentionally selecting each component is absolutely paramount.” From your own journey, what’s the real impact of this intentional selection, and what advice would you give to homebrewers struggling to make those crucial choices?
A: Gosh, I’ve learned this lesson the hard way more times than I care to admit! I remember one particularly disastrous batch where I just grabbed whatever malt was on sale, thinking, “grain is grain, right?” Wrong.
The beer ended up tasting thin, with a weird biscuity note that was definitely not what I was aiming for. It was a proper “dump the batch” moment, and my heart sank.
That’s when the lightbulb really went off: intentional selection isn’t just about avoiding mistakes; it’s about building your beer from the ground up, with a clear vision.
It impacts everything—the color, the clarity, the head retention, the aroma that hits you first, the bitterness, and especially that luscious mouthfeel.
My advice? Start with the end in mind. What do you want to drink?
A crisp lager? A juicy IPA? A rich stout?
Then research the classic ingredients for that style. Don’t be afraid to read tasting notes for different malt varieties, or aroma profiles for hops. And honestly, experiment.
Buy a small amount of a new hop or a different base malt, brew a simple recipe, and see how it changes the character. My personal rule now is: if I can’t articulate why I’m choosing a specific ingredient, I go back to the drawing board.
It’s like a chef meticulously choosing each spice—it makes all the difference.
Q: The article touches on “sustainable sourcing and personalized ingredient kits becoming a significant trend.” How are these trends manifesting in the homebrewing community, and do you feel they truly help navigate the “overwhelming” nature of modern brewing, or add to it?
A: This is a really interesting one, and it touches on something deeply personal to me: brewing responsibly. I’ve definitely noticed the shift towards sustainable sourcing.
It’s not just about ethical consumption; it’s about quality too. When you buy hops or malt from a supplier who champions sustainable practices, often those ingredients just feel better, more vibrant.
I’ve seen more local maltsters popping up, focusing on regenerative agriculture, and supporting them feels good—it reduces your carbon footprint, plus you get incredibly fresh, characterful grains.
On the flip side, personalized ingredient kits are a double-edged sword, aren’t they? For beginners, they’re a godsend. My first kit made me feel like a wizard!
It takes away a lot of the initial “overwhelming” feeling of ingredient selection, giving you a curated, pre-measured experience. You just dump and brew.
But as you progress, you might feel a bit constrained. I tend to use them now as a jumping-off point, maybe swapping out a hop variety or tweaking the yeast to make it my own.
So, do they help navigate the overwhelm? Absolutely, for entry and convenience. But for the serious experimenter, they become a foundation to build upon rather than the end-all-be-all.
It’s all about finding what works for your brewing journey and embracing the evolving landscape.
📚 References
Wikipedia Encyclopedia
구글 검색 결과
구글 검색 결과
구글 검색 결과
구글 검색 결과
구글 검색 결과